
Jenn Lofink took step-by-step photos of each technique and wrote instructions to help us follow along.
Origami Style Tree

1. Lay a 3in x 3 in piece of patterned paper face down, with the corners facing "north, south, east and west." In the example, the piece is just white on the other side.

2. Fold the piece of paper along the vertical center line, with the patterned side facing towards each other, and then unfold. When unfolded, it looks like this.

3. Take the corner on the far right and fold it towards the vertical center line.

4. Repeat by taking the corner on the far left and fold it towards the vertical center line.

5. Then take the bottom corner and fold it towards the bottom of the 2 new triangles. See picture.

6. Take the bottom right and fold it towards the vertical center line. See picture.
7. Repeat by taking the bottom left and fold it towards the vertical center line. See picture.

Step 8: Take the very bottom and fold it up creating a big triangle. See picture.

Step 9: Take about half of the partial triangle facing you and fold it down. See picture. ( used a thicker piece of paper so it does not lie as flat in this example)

Step 10. Turn over. You now have an adorable tree!
Easy Folded Scallop Tree
Preparation: Cut a circle out of 2-sided patterned paper that is 4inches in diameter. Then cut the circle in half.

Step 1. Place the half-circle on the table with the curved side facing towards you.

Step 2. Take the far left corner of the half-circle and fold it towards you to make a curved triangle with an extra piece on the right. See picture.
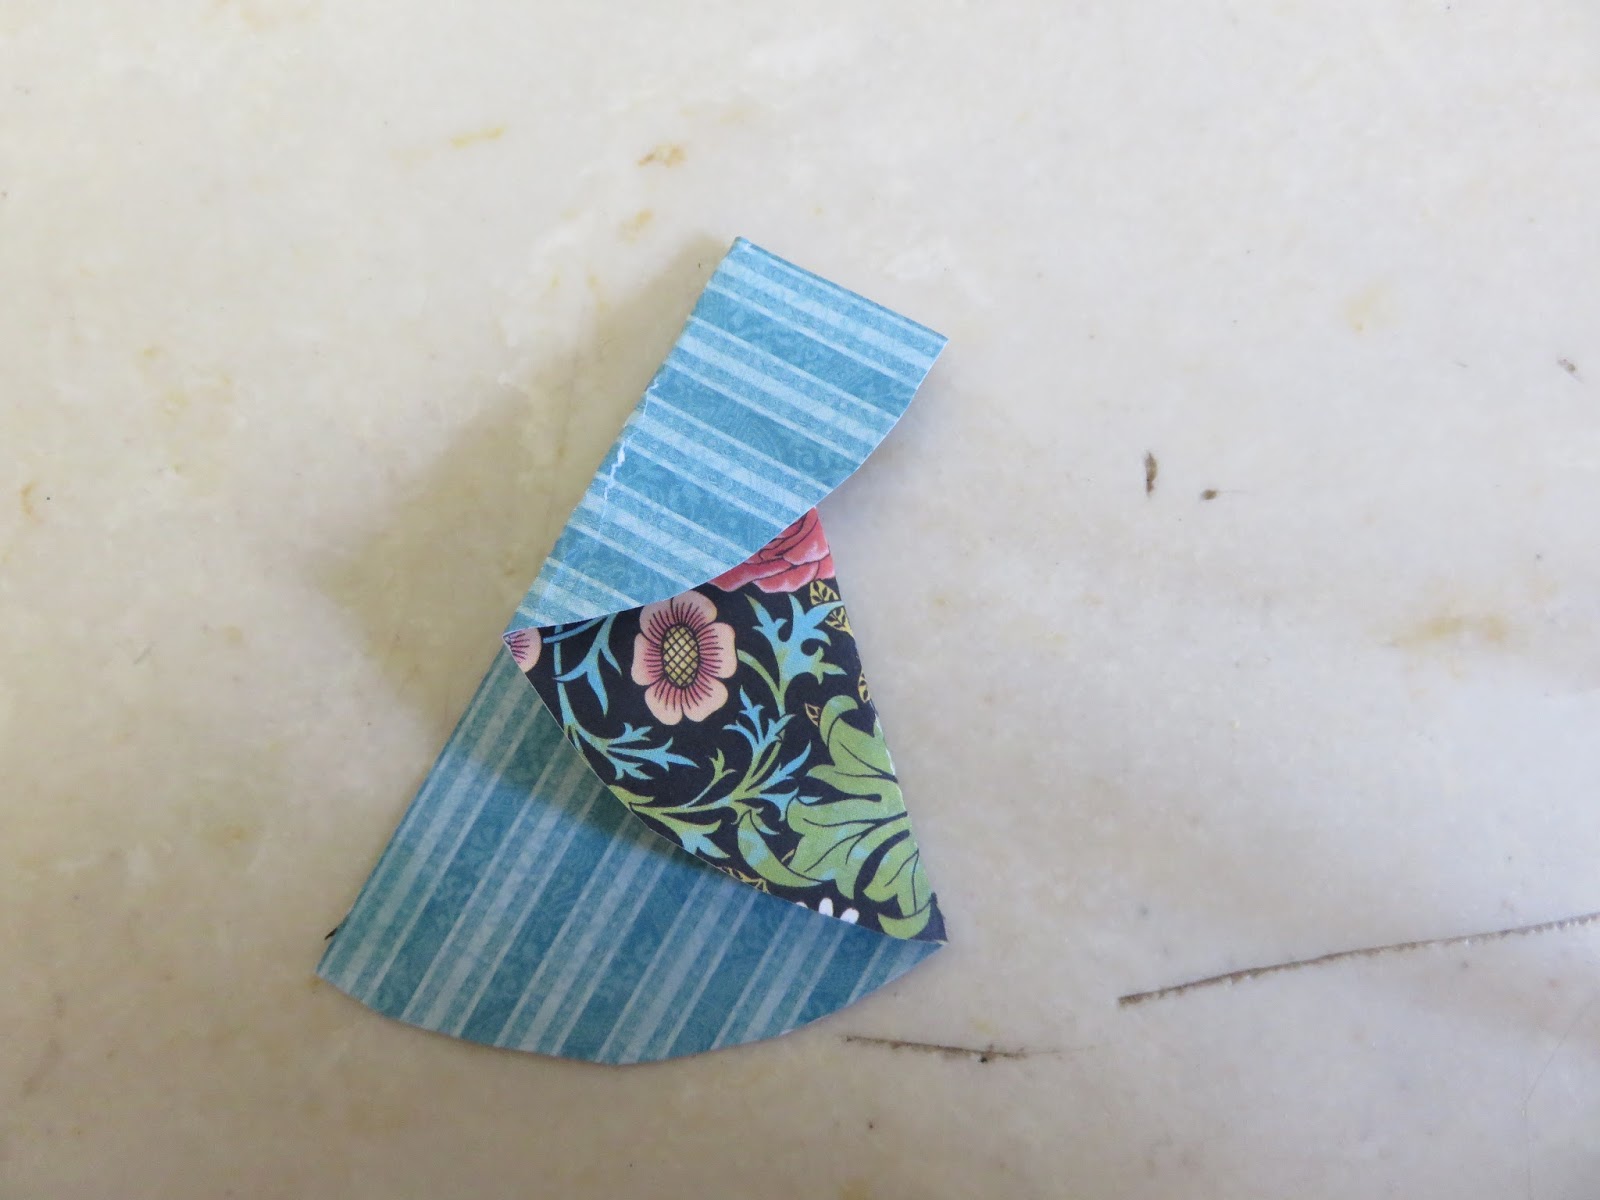
Step 3. Turn the paper over and fold the top left part down.

Step 4. Then fold the top right part down to create your tree!